Starting with how to repair asphalt cracks in driveway, this guide will walk you through the essential steps to ensure a smooth and durable repair process for your driveway.
Exploring the tools, techniques, and tips for effectively repairing asphalt cracks, this comprehensive overview will equip you with the knowledge needed to tackle this common issue.
Preparation for Repair
When it comes to repairing asphalt cracks in a driveway, proper preparation is key to a successful outcome. This involves gathering the necessary tools and materials, cleaning the area thoroughly, and prioritizing safety measures throughout the repair process.
Tools and Materials Needed
- Asphalt crack filler or patch
- Crack cleaning brush or wire brush
- Putty knife or trowel
- Paving sealer
- Protective gloves and eyewear
- Safety cones or caution tape
Importance of Cleaning the Area
Before starting the repair, it is crucial to clean the area around the asphalt cracks. Any debris, dirt, or vegetation should be removed to ensure proper adhesion of the filler or patch. Cleaning also helps identify the extent of the damage and allows for a more effective repair.
Significance of Safety Measures
Safety should always be a top priority when working on driveway repairs. Wearing protective gloves and eyewear can prevent injuries from sharp tools or harsh chemicals. Additionally, using safety cones or caution tape can alert others to the work being done and help prevent accidents. Remember, a safe work environment is essential for a successful repair job.
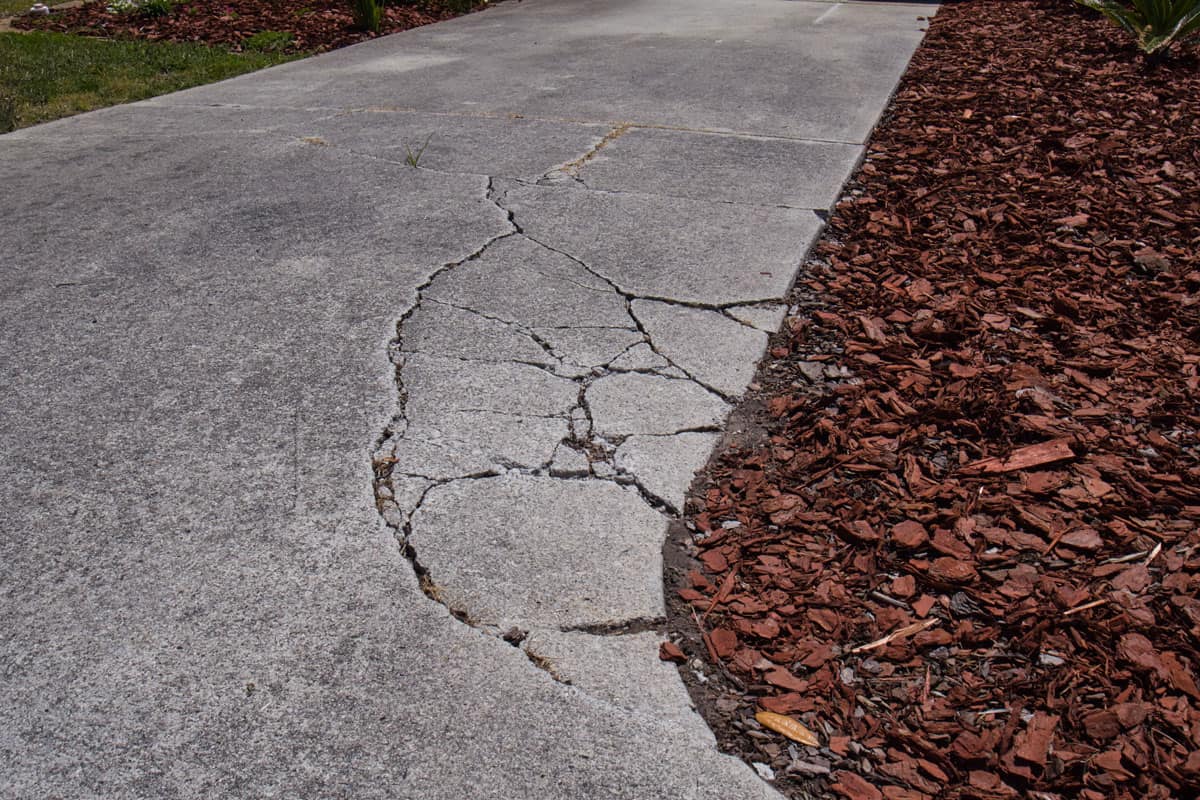
Identifying Asphalt Crack Types
Cracks in asphalt driveways can vary in type and severity, each requiring a different approach for repair. Understanding the different types of cracks can help determine the most effective repair method to ensure the longevity of your driveway.
Alligator Cracks
Alligator cracks are a series of interconnected cracks that resemble the skin of an alligator, hence the name. These cracks are typically caused by a weak base or subgrade, heavy loads, or poor drainage.
- Form when the asphalt surface is unable to support the weight placed on it.
- Often seen in areas with heavy traffic or where vehicles are parked for extended periods.
- Require more extensive repair work due to the underlying issues with the base.
Linear Cracks
Linear cracks are straight, narrow cracks that can be caused by aging, shrinkage, temperature fluctuations, or poor installation.
- Form due to expansion and contraction of the asphalt surface.
- Common in areas with extreme temperature changes or where water is able to seep into the pavement.
- Can be repaired using crack sealants to prevent further damage.
Block Cracks
Block cracks are interconnected rectangular cracks that divide the pavement into large rectangular pieces. These cracks are typically caused by shrinkage of the asphalt surface.
- Occur due to the aging of the asphalt pavement or poor mix design.
- Seen in areas with little to no traffic or in older driveways.
- Repair involves filling the cracks with a suitable crack filler to prevent water infiltration.
Filling and Sealing Cracks
When it comes to repairing asphalt cracks in your driveway, filling and sealing them properly is crucial to ensure the longevity of the repair. By following the correct process and using the right materials, you can prevent further damage and maintain the integrity of your driveway.
Filling Cracks with Asphalt Crack Filler
- Clean the crack: Before filling the crack, make sure to clean out any debris, dirt, or vegetation using a wire brush or air compressor. This will help the filler adhere better to the asphalt.
- Apply the filler: Use a high-quality asphalt crack filler and pour it directly into the crack, slightly overfilling it to ensure it is level with the surrounding surface.
- Compact the filler: Use a trowel or putty knife to compact the filler into the crack, ensuring there are no air pockets or gaps left behind. This will help create a strong bond with the asphalt.
Sealing Cracks to Prevent Water Damage
- Importance of sealing: After filling the cracks, it is important to seal them with a sealant to prevent water from seeping in. Water can cause further damage to the asphalt, especially in colder climates where freezing and thawing can expand the cracks.
- Choose the right sealant: Select a high-quality asphalt sealant that is designed specifically for filling and sealing cracks. This will provide an additional layer of protection and help prolong the life of the repair.
- Apply the sealant: Use a brush or squeegee to apply the sealant over the filled cracks, ensuring a smooth and even coverage. Allow the sealant to dry completely before allowing any traffic on the repaired area.
Repairing Large Cracks or Potholes
When it comes to repairing larger cracks or potholes in a driveway, the process requires a bit more effort and the use of specialized materials to ensure a lasting solution.
Using Cold Patch Asphalt for Substantial Repairs
For more substantial repairs on large cracks or potholes, cold patch asphalt is the recommended material to use. Cold patch asphalt is a ready-to-use product that can be applied directly to the damaged area without the need for heating. It is a quick and convenient solution for repairing larger asphalt defects in driveways.
- Prepare the damaged area by removing any debris, loose asphalt, and cleaning the surface.
- Apply the cold patch asphalt to the crack or pothole, ensuring it is filled to the appropriate level.
- Compact the patched area using a tamper or compactor to ensure proper adhesion and durability.
- Allow the patched area to cure according to the manufacturer’s instructions before allowing any traffic on it.
Compacting the patched area is crucial to ensure that the cold patch asphalt forms a strong bond with the existing driveway surface, providing long-lasting results.
Last Recap
In conclusion, mastering the art of repairing asphalt cracks in your driveway can not only enhance the curb appeal of your property but also extend the lifespan of your pavement. By following the steps outlined in this guide, you can achieve a professional-looking repair that stands the test of time.